

Are you considering installing vinyl flooring but unsure where to start? Look no further! This comprehensive vinyl flooring installation guide will provide all the information and step-by-step instructions to install vinyl flooring in your home successfully.
Vinyl flooring is popular among homeowners due to its durability, easy maintenance, and wide range of styles. Whether you want to revamp your kitchen, bathroom, or any other room, our guide will provide the knowledge and techniques to install flawless vinyl flooring.
So let’s dive in a vinyl flooring guide and discover the key steps and tips to ensure a successful vinyl flooring installation in your space.
Preparation for Vinyl Flooring Installation

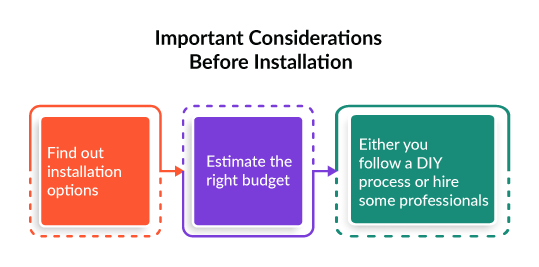
Before diving into the installation process, proper preparation is essential to ensure a successful and long-lasting vinyl flooring installation. To prepare your area, take the following actions:
- Plan and Measure: Begin by accurately measuring the area where you intend to install the vinyl flooring. This will help you determine the material you’ll need to purchase. Plan the layout of the planks or tiles to optimize the appearance and minimize waste.
- Clear the Space: Remove all furniture, appliances, and other objects from the room. Clearing the space will provide a clean and clutter-free area to work on.
- Inspect the Subfloor: Thoroughly examine the subfloor for any damage, irregularities, or moisture issues. Make sure the subfloor is sound structurally, clean, dry, and level. Address any problems before proceeding with the installation.
- Acclimate the Flooring: Most vinyl flooring requires acclimation to the room’s temperature and humidity levels. Observe the manufacturer’s instructions about the acclimatization period and circumstances. This process assists the flooring in acclimating to its new surroundings and guards against future problems.
- Gather Tools and Materials: Make a checklist of the tools and materials needed for the installation. Common items include a utility knife, tape measure, straightedge, chalk line, adhesive or double-sided tape, and a roller. Gather all necessary items beforehand to ensure a smooth installation process.
Vinyl Flooring Installation Methods
Vinyl flooring can be installed using different methods, depending on the Types of vinyl flooring. The two primary installation methods we have included in this vinyl flooring installation guide are:
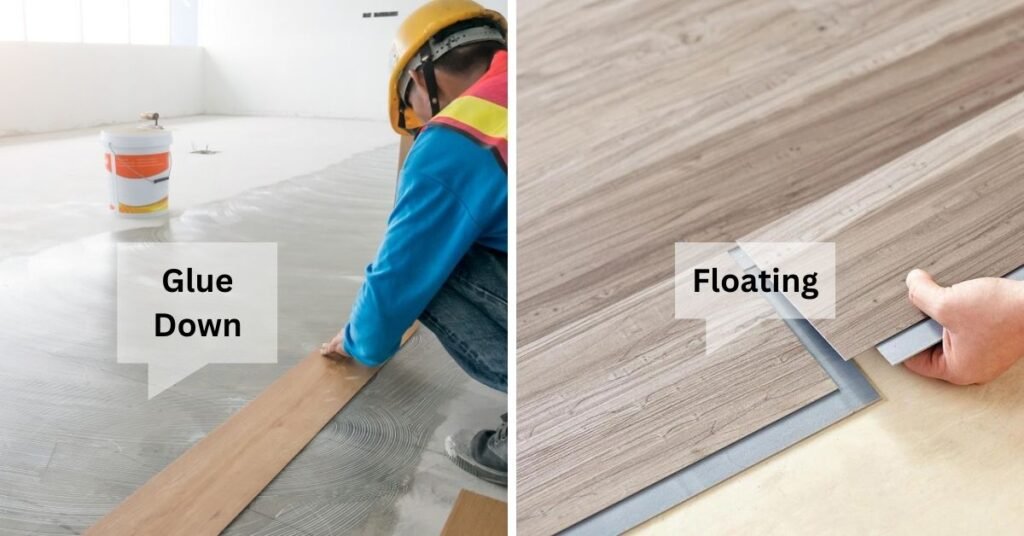
- Glue-Down Installation: This method involves applying adhesive directly to the subfloor and placing the vinyl flooring on top. The glue-down installation provides excellent stability and is suitable for sheet vinyl and tiles.
- Floating Installation: The vinyl planks or tiles are not glued to the subfloor in floating installations. Instead, they interlock with each other using a click-and-lock or tongue-and-groove system. Floating installations are relatively quick and straightforward, making them popular among DIY enthusiasts.
Cutting, Fitting, and Installation Techniques
Proper cutting, fitting, and installation techniques are crucial for professional-looking vinyl flooring. Follow these guidelines from vinyl flooring installation guide for a seamless result:
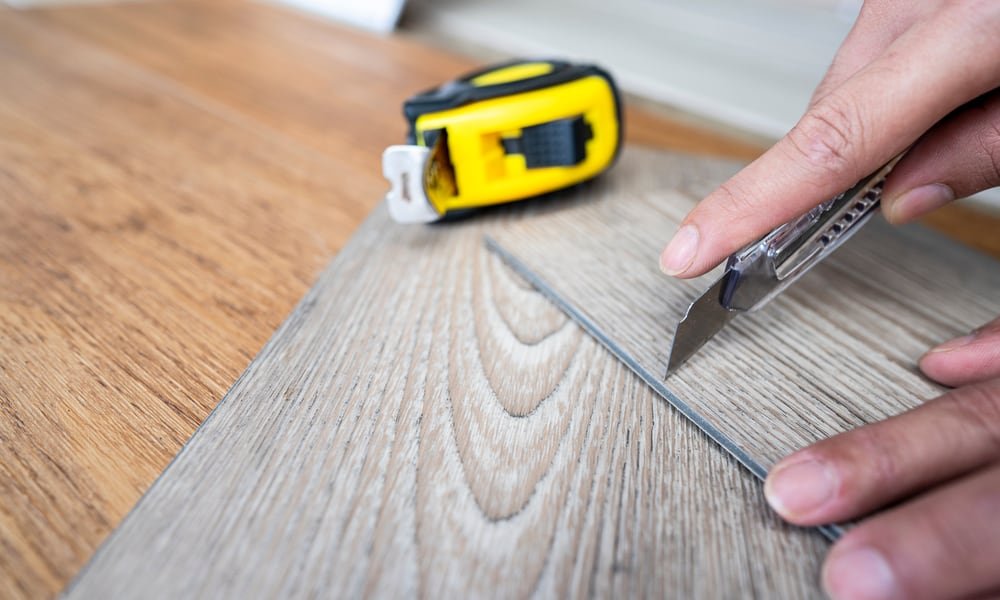
- Cutting Vinyl Flooring: Use a sharp utility knife to cut vinyl planks or tiles to the desired size and shape. Measure and mark the piece to be cut, then score along the marked line. Snap the vinyl along the scored line or continue cutting until complete separation.
- Fitting Around Obstacles: When encountering obstacles like door frames or irregular shapes, create a template using paper or cardboard. Transfer the template onto the vinyl flooring, ensuring an accurate fit. Cut the vinyl according to the template and make any necessary adjustments for a snug installation.
- Installing Vinyl Planks: For glue-down installations, apply adhesive to the subfloor using a trowel or recommended applicator. Press each vinyl plank firmly into the adhesive, ensuring they are properly aligned and tightly joined. Use a roller to eliminate air bubbles and secure the planks.
- Installing Vinyl Tiles: In glue-down tile installations, spread adhesive on the subfloor and then carefully place each tile, following the layout you planned earlier. Ensure consistent spacing between tiles using spacers. Press the tiles firmly into the adhesive, and once completed, roll the entire floor to ensure a strong bond.
- Completing the Edges: Trim excess vinyl using a utility knife or specialized vinyl-cutting tool. Install appropriate edge trim or molding to provide a clean and finished look. Follow the manufacturer’s instructions for attaching trim or molding effectively.
Underlayment and Trim for Vinyl Flooring
While some vinyl flooring products can be installed directly on the subfloor, others may require underlayment for added comfort, insulation, or moisture resistance. Additionally, underlayment and trim for vinyl flooring can enhance the appearance and durability of your installation. Consider the following points:
- Underlayment: If your vinyl flooring requires an underlayment, choose the appropriate type based on the manufacturer’s recommendations. Underlayment materials can vary, including foam, cork, or specialized moisture barriers. Install the underlayment according to the manufacturer’s instructions, ensuring a smooth and level surface.
- Transition Strips: Transition strips create a smooth transition between different flooring materials or areas. They provide a finished appearance and help protect the edges of the vinyl flooring. Select the appropriate transition strips based on the specific requirements of your installation, such as the height difference between flooring surfaces.
- Baseboards and Quarter Rounds: Installing baseboards or quarter rounds along the room’s perimeter can conceal expansion gaps and provide a polished finish. Choose baseboards that complement your vinyl flooring and ensure they are properly installed using nails or adhesive.
- Doorway Thresholds: To transition between vinyl flooring and other rooms or areas, install doorway thresholds or transition strips specifically designed for this purpose. Thresholds help create a smooth and secure connection, preventing tripping hazards and protecting the edges of the vinyl flooring.
- Floor Protection: To protect your vinyl flooring from furniture legs, casters, and heavy objects, use felt pads or protective glides. These accessories can prevent scratches and indentations, ensuring the longevity of your vinyl flooring.
Maintenance and Care Tips for Vinyl Flooring
Once your vinyl flooring is installed, proper maintenance and care will help preserve its appearance and extend its lifespan. There are many benefits of vinyl flooring, follow these maintenance tips which we have added additionally in our vinyl flooring installation guide for your assistance to keep your vinyl flooring looking its best:
- Regular Cleaning: Regularly sweep or vacuum your vinyl flooring to remove dirt, dust, and debris. For deeper cleaning, use a damp mop with a mild vinyl floor cleaner recommended by the manufacturer. Avoid abrasive cleaners or tools that may damage the surface.
- Prompt Spill Cleanup: Wipe up spills immediately to prevent staining or damage to the vinyl flooring. Use a soft cloth or mop and a mild cleaning solution to clean the affected area thoroughly.
- Avoid Harsh Chemicals: Avoid harsh chemicals on your vinyl flooring, such as bleach or ammonia-based cleaners. These could harm the surface or discolor it. Always follow the manufacturer’s instructions for recommended cleaning products.
- Furniture Protectors: Place furniture pads or coasters under the legs of your furniture to prevent scratches or dents. Avoid dragging heavy furniture across the vinyl flooring, as it may cause damage.
- Protect from Sunlight: Direct sunlight can fade or discolor vinyl flooring over time. Consider using curtains, blinds, or UV-blocking window films to protect your vinyl flooring from excessive sun exposure.
Conclusion
This vinyl flooring installation guide has provided a comprehensive overview of the preparation, installation, and maintenance processes. Plus, in comparison of Vinyl flooring vs. other flooring options, vinyl is more popular choice. By following these step-by-step instructions and incorporating proper care, you can achieve a professional-looking vinyl flooring installation that enhances the beauty and functionality of your space. Remember, whether tackling a small room or a larger area, taking the time to prepare and install vinyl flooring correctly will ensure a long-lasting and visually appealing result.
Frequently Asked Questions
What is the installation method for vinyl flooring?
Vinyl flooring can be installed using two primary methods: glue-down installation and floating installation. The glue-down method applies the adhesive to the subfloor, and the vinyl flooring is placed on top. On the other hand, floating installations involve interlocking the vinyl planks or tiles without adhesive.
What should I put down before laying the vinyl flooring?
Depending on the type of vinyl flooring, you may need to install an underlayment for added comfort or moisture resistance.
How do you get a floor ready for vinyl flooring?
Properly measure the area, clear the space, inspect the subfloor, acclimate the flooring, and gather the necessary tools and materials.
Can I install vinyl flooring myself?
Yes, many homeowners successfully install vinyl flooring themselves. However, following the installation instructions carefully and having the necessary tools and skills for the job is important.